TestingBotは、多様なブラウザ環境をクラウド上で提供するテストプラットフォームです。以前の記事でTestMu AI(LambdaTest)を使ってローカル開発環境へのクラウドテストを実行しましたが、今回は同じことをTestingBotで試してみます。
LambdaTest版の記事はこちらです。 ローカル開発環境のPlaywrightテストをTestMu AI(LambdaTest)で実行
本記事のゴール:公開サイトからローカル環境のテストまで
今回も2段階で進めます。まず公開されているデモサイトを対象にTestingBotとPlaywrightの接続を確認し、そのあとトンネルを使ってテスト対象をローカルの開発環境に切り替える、という形です。
TestingBotの接続情報を取得
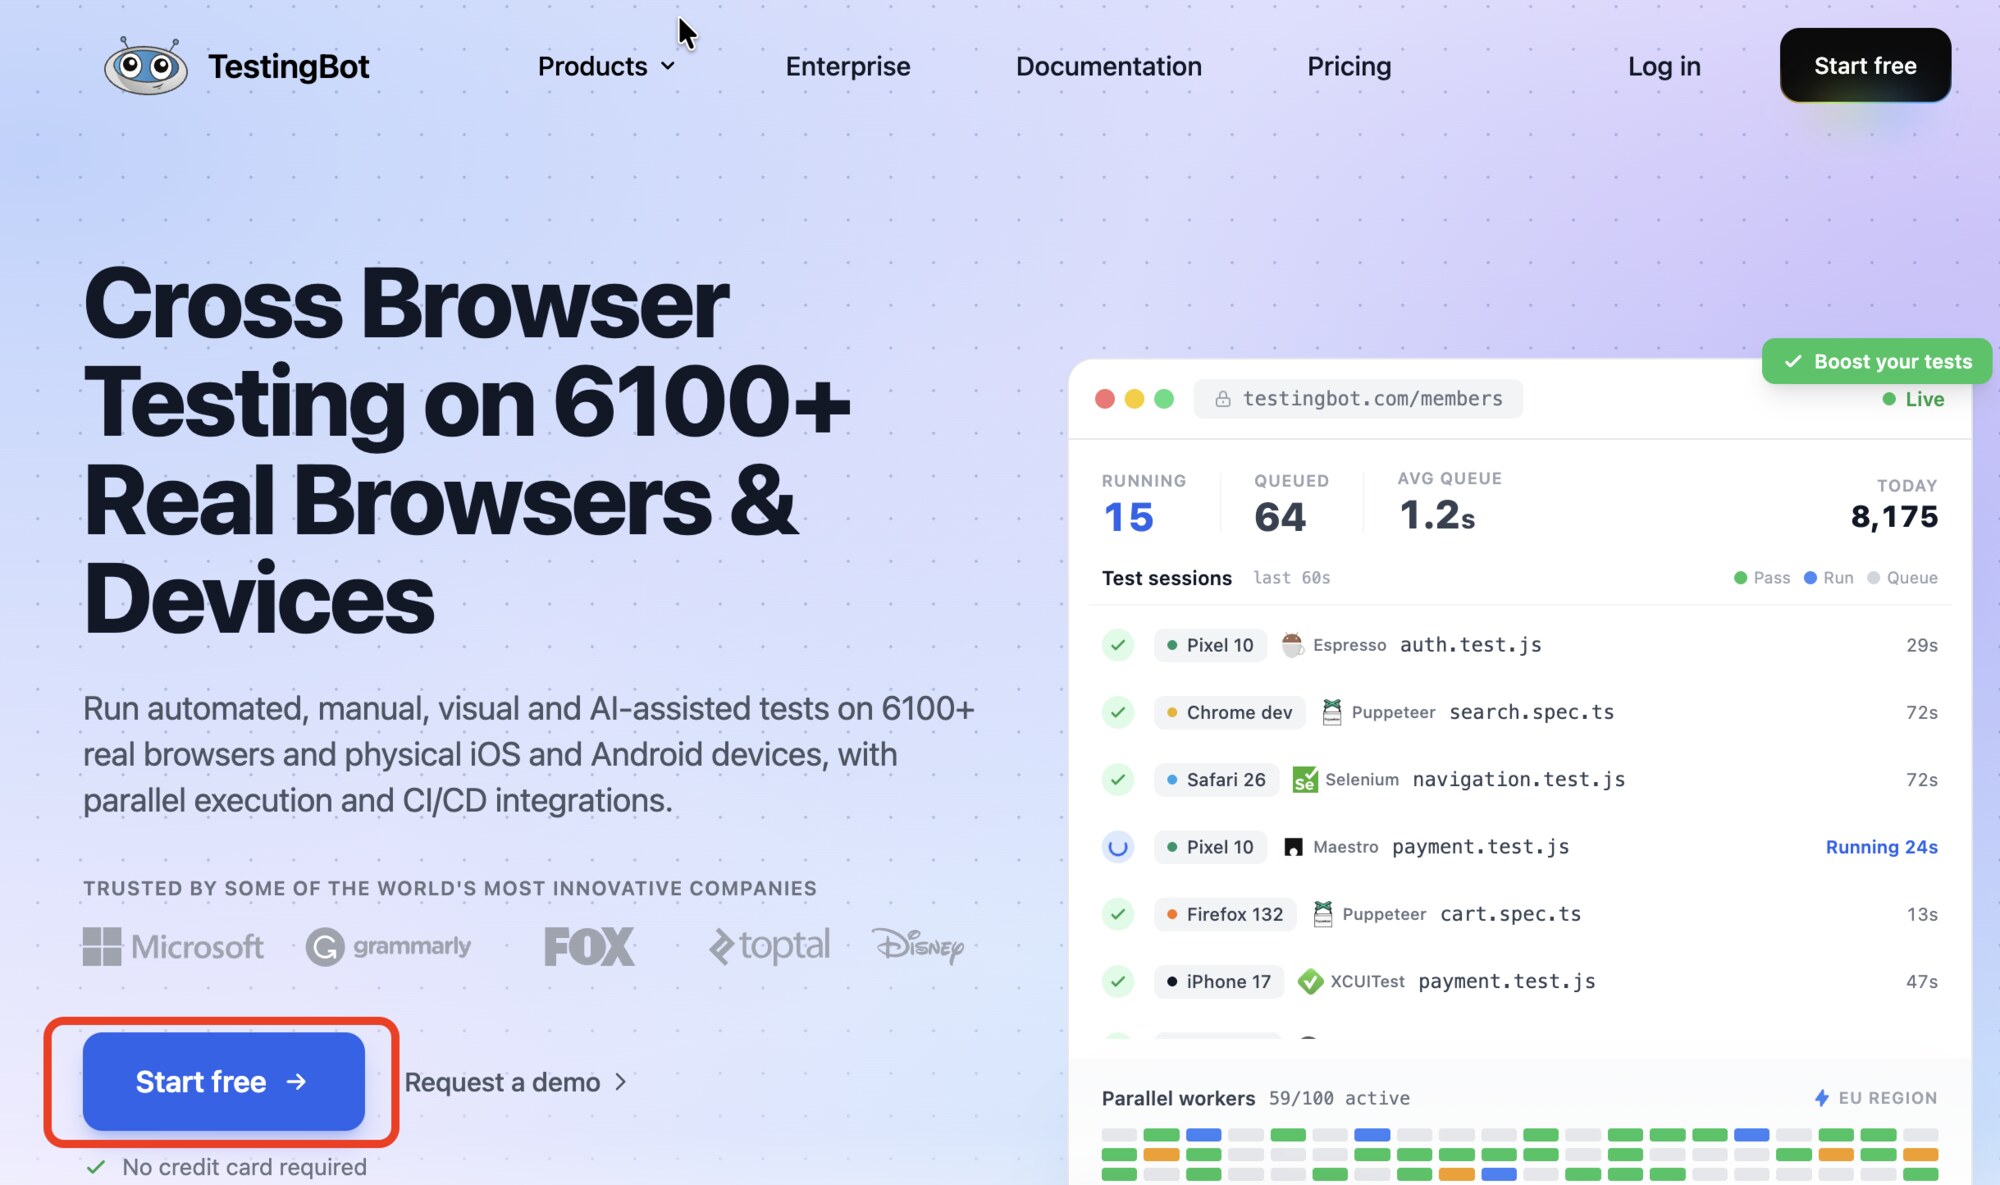
まずはTestingBotのサイトにて、接続に必要な情報を取得します。トップ画面のStart free(28日間無料、60分間まで)をクリックし、会員登録画面から登録を完了させます。
登録後はこちらのページにて、KeyとSecretが取得できます。
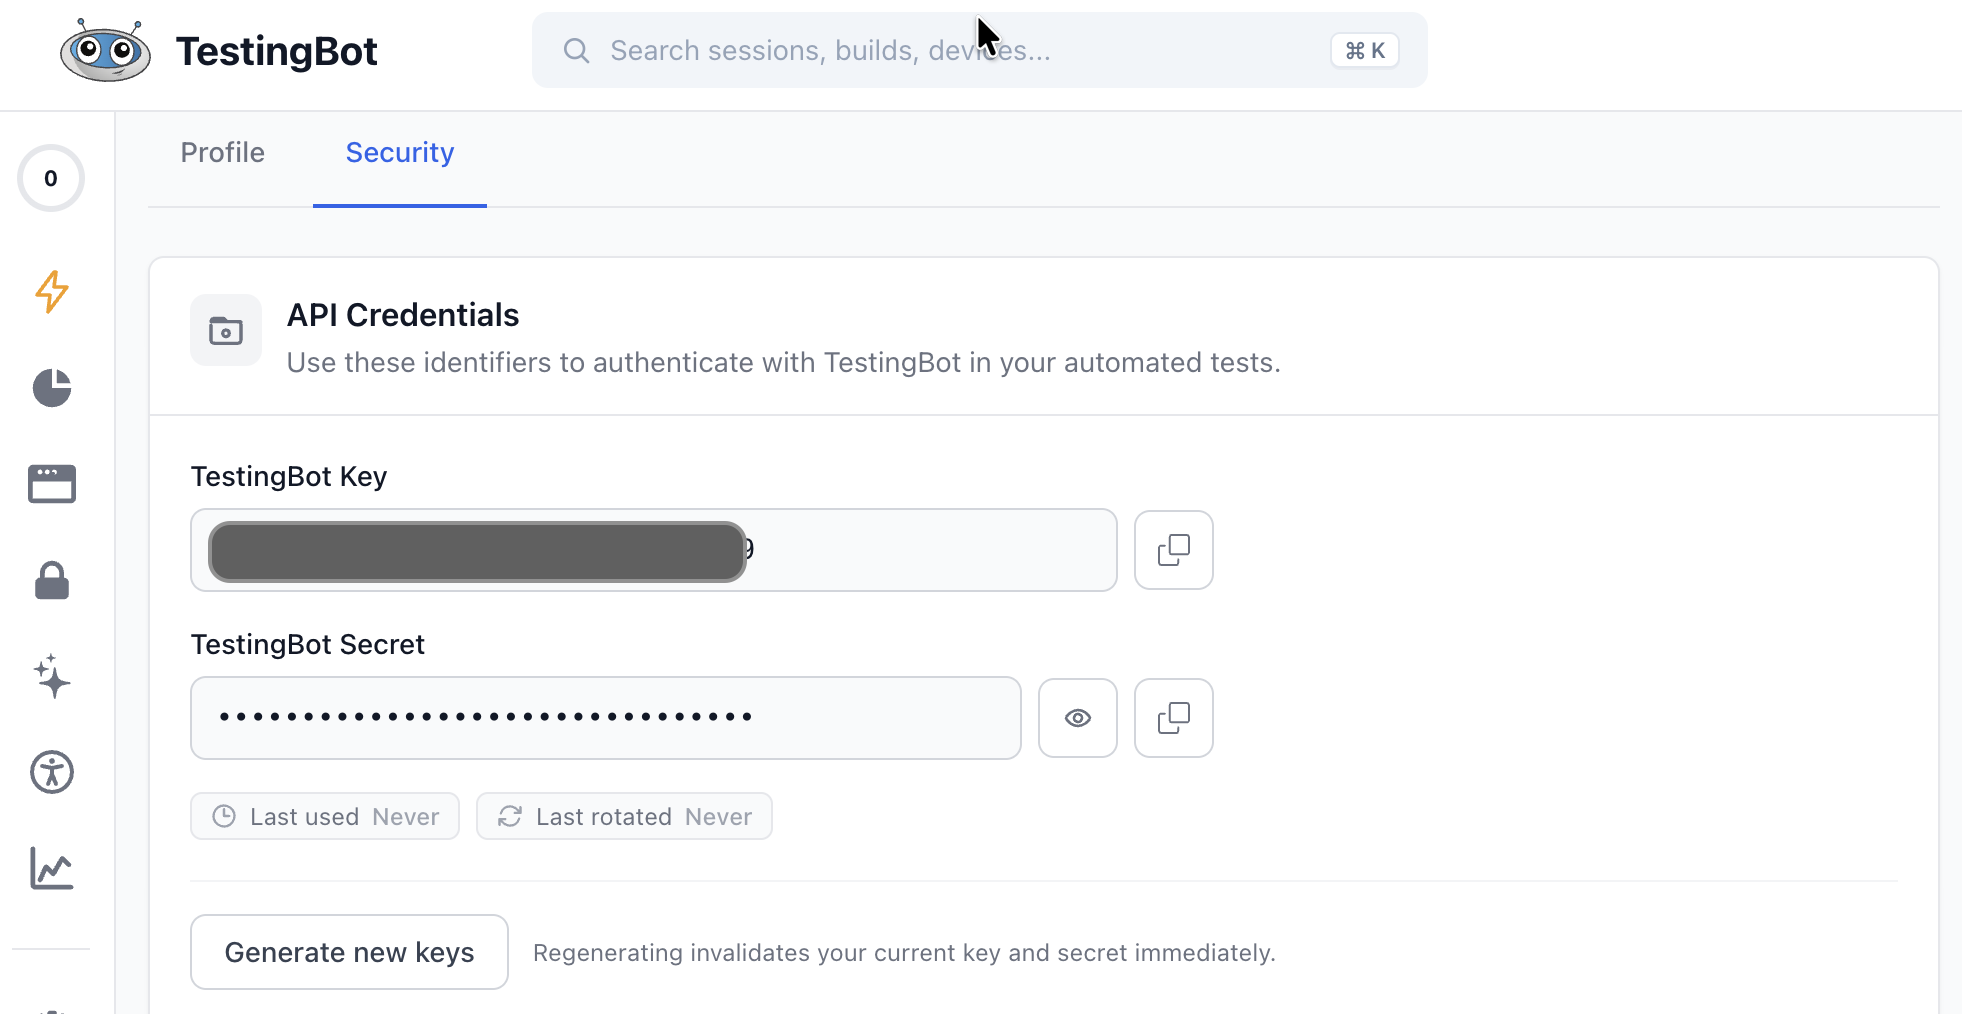
取得した情報を、.env.playwrightに追記します。
TB_KEY=取得したKey
TB_SECRET=取得したSecret
公開サイトへの接続を確認する
まずは公開されているサイトを使って接続確認を行います。テストはシンプルに、デモサイトにアクセスするだけの内容にします。
import { test, expect } from '@playwright/test';

test('トップページが表示される', async ({ page }) => {
    await page.goto('/');
    await expect(page).toHaveTitle('STORE');
});
configは、TestingBot用のplaywright.testingbot.config.tsを新規作成します。以下configの全文になります。
import { defineConfig, devices } from '@playwright/test';
import dotenv from 'dotenv';
import { fileURLToPath } from 'url';
import path from 'path';

const __dirname = path.dirname(fileURLToPath(import.meta.url));

dotenv.config({ path: path.resolve(__dirname, '.env') });
dotenv.config({ path: path.resolve(__dirname, '.env.playwright'), override: true });

const TB_KEY = process.env.TB_KEY ?? '';
const TB_SECRET = process.env.TB_SECRET ?? '';

// ---- デバイスマッピング ----
// DEVICE 変数1つで「TBブラウザ名・デフォルトOS・Playwrightデバイス」が連動して決まる。
type DeviceConfig = {
  tbBrowser: string;
  browserVersion: string;
  platform: string;
  device: string;
};

const DEVICE_MAP: Record<string, DeviceConfig> = {
  chrome: { tbBrowser: 'chrome', browserVersion: 'latest', platform: 'WIN11', device: 'Desktop Chrome' },
  firefox: { tbBrowser: 'firefox', browserVersion: 'latest', platform: 'WIN11', device: 'Desktop Firefox' },
  edge: { tbBrowser: 'edge', browserVersion: 'latest', platform: 'WIN11', device: 'Desktop Edge' },
  safari: { tbBrowser: 'webkit', browserVersion: 'latest', platform: 'TAHOE', device: 'Desktop Safari' },
  ios: { tbBrowser: 'webkit', browserVersion: 'latest', platform: 'TAHOE', device: 'iPhone 15' },
};

const deviceKey = process.env.DEVICE ?? 'chrome';

if (!(deviceKey in DEVICE_MAP)) {
  console.error(`エラー: DEVICE="${deviceKey}" は未定義です。有効な値: ${Object.keys(DEVICE_MAP).join(', ')}`);
  process.exit(1);
}

const { tbBrowser, browserVersion, platform: defaultPlatform, device: deviceName } = DEVICE_MAP[deviceKey];
const tbPlatform = process.env.TB_PLATFORM ?? defaultPlatform;
const selectedDevice = devices[deviceName];

// ---- TestingBot エンドポイント ----
function tbEndpoint(testName: string) {
  return `wss://cloud.testingbot.com/playwright?capabilities=${encodeURIComponent(
    JSON.stringify({
      browserName: tbBrowser,
      browserVersion,
      platform: tbPlatform,
      'tb:options': {
        key: TB_KEY,
        secret: TB_SECRET,
        build: 'TestingBot × Playwright',
        name: `${testName} [${tbPlatform}]`,
      },
    })
  )}`;
}

// ---- Playwright 設定 ----
export default defineConfig({
  testDir: './e2e',
  workers: 1,
  timeout: 60_000,
  reporter: [['html'], ['list']],

  use: {
      baseURL: 'https://demoblaze.com/',
      trace: 'on-first-retry',
      screenshot: 'only-on-failure',
  },

  projects: [
    {
      name: `${deviceKey}`,
      testMatch: '**/testingbot-demo.spec.ts',
      use: {
        ...selectedDevice,
        connectOptions: { wsEndpoint: tbEndpoint(deviceKey) },
      },
    },
  ],
});
構成はLambdaTestと同じく ①環境変数の読み込み、②デバイスマッピング、③TestingBotへの接続設定、④Playwrightの実行設定、の4つのブロックとなっています。
以下、2箇所だけ注意点です。
デバイスマッピング
DEVICE_MAPでは、ブラウザとOSの組み合わせを定義しています。ぱっと見はLambdaTestと同じですが、ブラウザ名の指定は少し異なります。例えば、TestingBotではSafariをwebkitと指定します(LambdaTestはpw-webkit)。macOSもTAHOEのようなバージョン名の大文字コードになります。
OSとブラウザの組み合わせは公式ドキュメントで確認できます。
Playwrightの実行設定
こちらも、デモサイト用に少し変更を加えています。
export default defineConfig({
・・・・・
  use: {
      baseURL: 'https://demoblaze.com/',
・・・・・
  projects: [
    {
      name: `${deviceKey}`,
      testMatch: '**/testingbot-demo.spec.ts',
      use: {
        ...selectedDevice,
        connectOptions: { wsEndpoint: tbEndpoint(deviceKey) },
      },
    },
  ],
});
baseURLにデモサイトを指定し、testMatchにも、デモサイト表示確認用のテストを指定しています。
そしてconnectOptionsは、「ローカルのブラウザを起動する代わりに、リモートのブラウザに接続する」ための設定です。ここに、上で用意したtbEndpoint()が返すURLを渡すことで、テストがTestingBotのクラウドブラウザ上で実行されるようになります。
デモサイトへのテスト実行
第一段階の確認のため、テストを実行します。
$ npx playwright test --config=playwright.testingbot.config.ts
TestingBotのダッシュボードにセッションが表示され、クリックするとテストの詳細が開くので、そこから実際のテストの様子を確認できます。
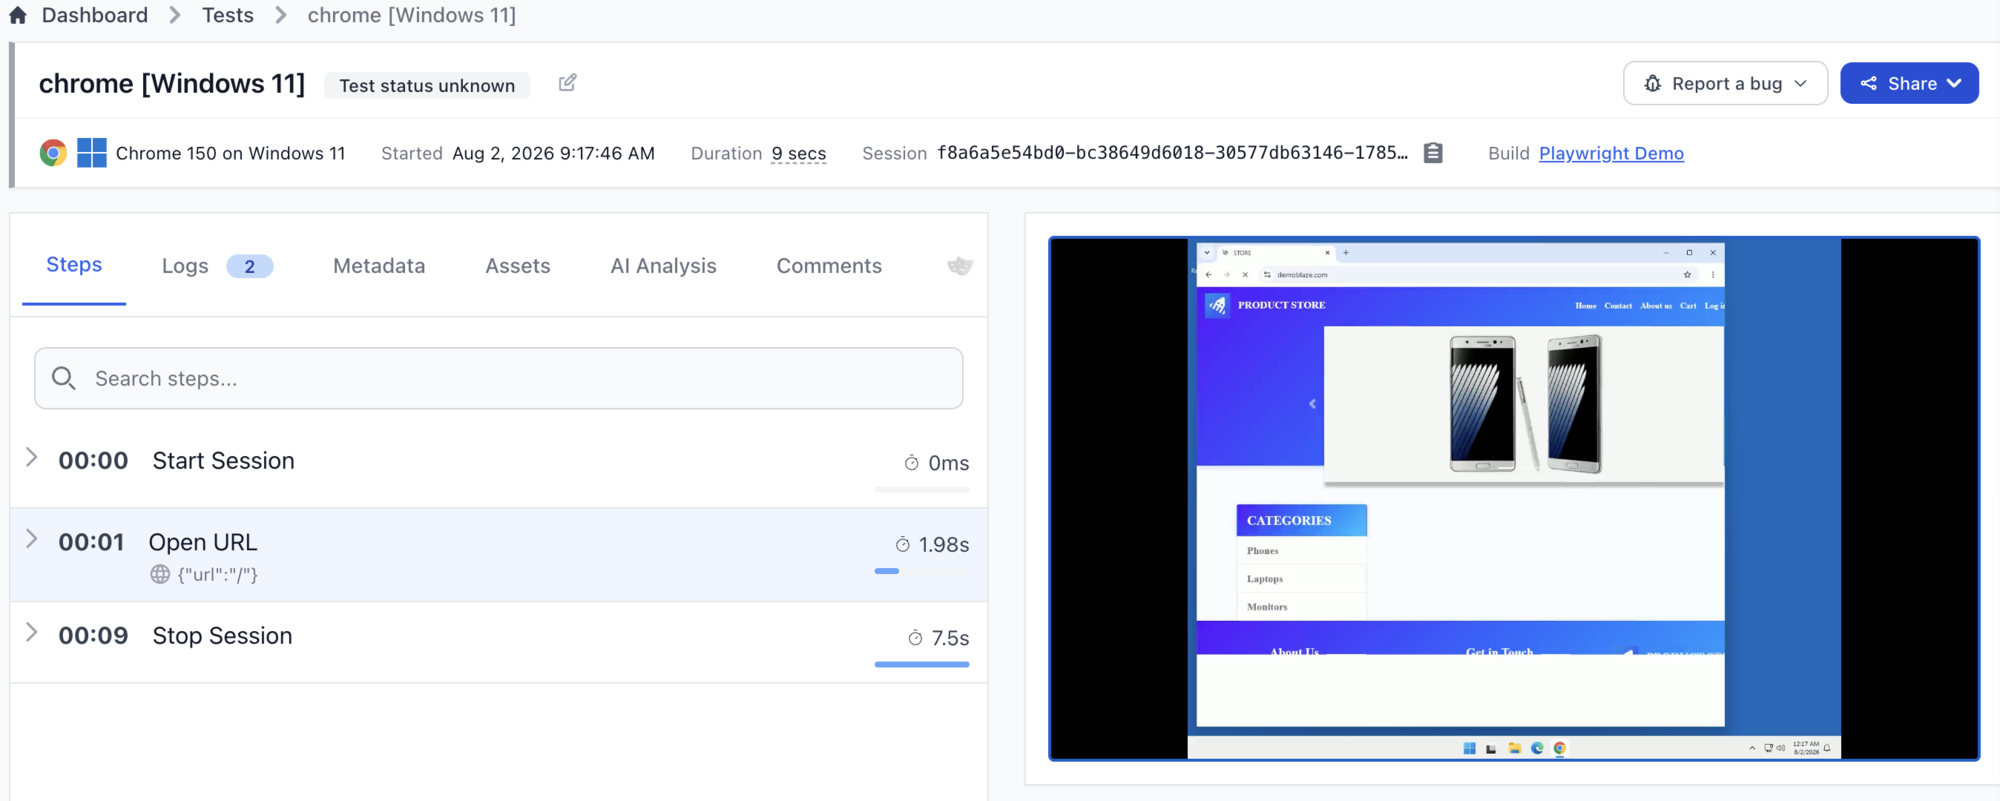
ちゃんとデモサイトが開いている様子が確認でき、テストも問題なく通りました。
Tunnelを導入
次は、テスト対象をローカル環境に切り替えます。クラウドブラウザからローカルサーバーへは直接接続できないため、TestingBotが提供しているTunnelを使います。
トンネルの導入方法は何種類かありますが、今回はnpmパッケージを使用します。こちらはマシンにJavaが必要になるので、無い場合は事前にインストールしてください。
https://testingbot.com/support/tunnel/installation#node
トンネルのライブラリは、以下のコマンドでインストールします。
$ npm install --save-dev testingbot-tunnel-launcher
トンネル実行ファイル
インストールしたライブラリを使ったトンネルの起動・停止をPlaywrightに組み込むため、実行ファイルを2つ作成します。LambdaTest版のときと同じ役割の2ファイルです。
トンネル起動用はこちら。
import testingbotTunnel from 'testingbot-tunnel-launcher';
import dotenv from 'dotenv';
import { fileURLToPath } from 'url';
import path from 'path';

const __dirname = path.dirname(fileURLToPath(import.meta.url));
dotenv.config({ path: path.resolve(__dirname, '..', '..', '.env') });
dotenv.config({ path: path.resolve(__dirname, '..', '..', '.env.playwright'), override: true });

const TB_KEY = process.env.TB_KEY ?? '';
const TB_SECRET = process.env.TB_SECRET ?? '';

export default async function setup() {
  if (!TB_KEY || !TB_SECRET) {
    throw new Error('TB_KEY と TB_SECRET を .env.playwright に設定してください。');
  }

  console.log('[TestingBot] トンネルを起動中...');

  const t = await new Promise((resolve, reject) => {
    testingbotTunnel(
      {
        apiKey: TB_KEY,
        apiSecret: TB_SECRET,
        tunnelIdentifier: 'my-tunnel', // configのtb:optionsと同じ名前にする
      },
      (err: Error | null, tunnel: any) => {
        if (err) reject(err);
        else {
          console.log('[TestingBot] トンネル起動完了');
          resolve(tunnel);
        }
      }
    );
  });

  (globalThis as any).__tb_tunnel__ = t;
}
トンネル終了用は以下になります。
export default async function teardown() {
  const t = (globalThis as any).__tb_tunnel__;
  if (t) {
    console.log('[TestingBot] トンネルを停止中...');
    await new Promise<void>((resolve) => t.close(resolve));
    console.log('[TestingBot] トンネル停止完了');
  }
}
playwright.testingbot.config.tsを更新
次はconfigファイルを、トンネルを使ったバージョンに更新します。以下は、更新箇所の抜粋となります。
・・・・・
// ---- TestingBot エンドポイント ----
function tbEndpoint(testName: string) {
  return `wss://cloud.testingbot.com/playwright?capabilities=${encodeURIComponent(
    JSON.stringify({
・・・・・
      'tb:options': {
        tunnelIdentifier: 'my-tunnel', // ① トンネル実行ファイルと同じ識別子を指定
・・・・・
      },
    })
  )}`;
}
・・・・・

// ---- Playwright 設定 ----
export default defineConfig({
  globalSetup: './e2e/support/testingbot-tunnel.ts',  // ② トンネル起動
  globalTeardown: './e2e/support/testingbot-tunnel-teardown.ts', // ② トンネル停止

・・・・・
  use: {
    baseURL: 'http://127.0.0.1:8001', // ③ デモサイトからローカルサーバーへ変更
・・・・・
  },

  projects: [
    // ④ DB リセット&シード(connectOptions なし=ローカル実行)
    { name: 'db-setup', testMatch: '**/db.setup.ts' },

    // 実行したいテスト
    {
      name: `${deviceKey} 未ログイン`,
      testMatch: '**/auth.spec.ts',
      use: {
        ...selectedDevice,
        connectOptions: { wsEndpoint: tbEndpoint(`${deviceKey} 未ログイン`) },
      },
      dependencies: ['db-setup'],
    },
  ],

  webServer: {
    command: 'php artisan serve --port=8001', // ローカルサーバーの自動起動
    url: 'http://127.0.0.1:8001',
    reuseExistingServer: true,
    stdout: 'ignore',
    stderr: 'pipe',
  },
});
重要な変更箇所は以下の4点です。
- tunnelIdentifier:トンネル実行ファイルで指定した識別子(
my-tunnel)と同じ名前をtb:optionsに渡します。この設定によって、テストでトンネルを使うという指定になります。 - globalSetup / globalTeardown:先ほど作成したトンネル実行ファイルを指定します。テスト実行前にトンネルが自動で起動し、終了後に停止します。
- baseURL:デモサイトからローカルサーバーのURLに変更します。
- projects:DB初期化(db-setup)はローカルで行い、テスト本体だけクラウドブラウザで実行する構成にしています。この棲み分けはconnectOptionsの指定あり・なしで決まり、指定があるprojectはTestingBotのクラウドブラウザで、無いものは手元のブラウザで実行されます。
テスト実行
$ npx playwright test --config=playwright.testingbot.config.ts
◇ injected env (45) from .env // tip: ⌘ enable debugging { debug: true }
◇ injected env (8) from .env.playwright // tip: ⌘ custom filepath { path: '/custom/path/.env' }
◇ injected env (0) from .env // tip: ◈ secrets for agents [www.dotenvx.com]
◇ injected env (8) from .env.playwright // tip: ⌘ multiple files { path: ['.env.local', '.env'] }
[TestingBot] トンネルを起動中...
Tunnel is ready
[TestingBot] トンネル起動完了

Running 4 tests using 1 worker

・・・・・中略・・・・・
  ✓  1 [db-setup] › e2e/support/db.setup.ts:5:1 › reset ★ database (567ms)
◇ injected env (0) from .env // tip: ◈ secrets for agents [www.dotenvx.com]
◇ injected env (8) from .env.playwright // tip: ⌘ suppress logs { quiet: true }
  ✓  2 [chrome 未ログイン] › e2e/auth.spec.ts:4:1 › ログインページが表示される (9.4s)
・・・・・中略・・・・・
[TestingBot] トンネルを停止中...
[TestingBot] トンネル停止完了

  4 passed (1.0m)
出力から、トンネルが問題なく起動・終了していることがわかります。テストも問題なく通り、トンネル経由でローカルサーバーへのテストが無事成功しました。
現在ではchrome・edge・firefox・safari・iosの5つすべてで動作確認ができましたが、実は最初にトンネルで検証したときは、firefoxとsafariだけローカルサーバーに到達できずエラーとなっていました。
接続先をホスト名に変えてみたり既定のポートに変更してみたりしたのですがエラー解消とはいかず、TestingBotのサポートに問い合わせたところ、一週間足らずで修正対応いただいたという経緯があります。サポートの対応が早かったのは好印象でした。
なお、LambdaTestのときはSafari実行時にローカルサーバーへ到達できず少し工夫が必要でしたが、TestingBotでは設定面での工夫は不要でした。
実行時間について
Playwrightのテスト実行時間は、ローカルでは速いですがクラウド経由はどうしても時間がかかります。同じクラウドサービスであるLambdaTestと比べてもTestingBotのほうが時間がかかる印象があり、この点も気になったので、こちらもサポートに聞いてみたところ以下のような回答でした。
I think the latency plays a big part in this. Our only datacenter is Europe, we don’t have any others. I don’t think there is currently a way to optimize this.
TestingBotのデータセンターはヨーロッパのみであり、現時点で最適化する方法は無さそうとのことです。日本からだとPlaywrightのコマンドごとに日本⇔欧州の往復が発生します。この物理的な距離による通信の往復時間(レイテンシ)が積み重なって、テスト時間の遅延につながってしまうようです。
ちなみにLambdaTestのセッション情報にはアジアのリージョン名が含まれていたので、ヨーロッパより近い分だけ速いのかもしれません。