
このブログサイトのように、自分でサーバー(AWS EC2)を持ち、サイトをセットアップしていると、いろいろと出費があります。AWSのサービスに対してのお金とともに、昨今のウェブセキュリティ強化ゆえに、セキュア認証の取得にも年に1回出費があります。
今年はなぜかその認証の日までに業者からの催促のEメールも来ずに、リマインダーのためのカレンダーにも入れていなかったおかげで、認証が期限切れとなっていると知らず。次の日に朝にサイトにアクセスすると「安全な接続ではありません!」の警告画面となってしまいました。
これはいかん、と慌てたのですが、これはいいチャンス、巷で有名な無料のLet’s Encryptやらを試して見ようではないか、となりました。インストールのツールもあり便利そうです。
Let’s Encrypt
Let’s Encryptは、もとMozzila(Firefoxブラウザで有名な)の社員が2014年から始めた事業なのですが、Let’s Encryptがどれだけ有名かというと、今年の2月の時点で、なんと10億サイトにセキュア認証がインストールされています。
ウェブサイトにセキュア認証をインストールするには、通常、プライベートキーやCSRをコマンドで作成して、Digicertのような会社に認証してもらい、SSL証明書が発行され、それをウェブサーバーにインストールします。面倒なうえに認証まで待つ必要もあり時間がかかり、しかも有料です。しかし、Let’s Encryptでは、それらの作業をすべて自動化したCertbotという便利なツールがあり、意外と簡単です。
Let’s Encryptのセキュア認証のインストールをこれから説明しますが、ここでの話は私の環境、つまりAmazon Linux(Amazon Linux 2ではない)で、ウェブサーバーにはapacheを使用という限定された環境での話なので、注意してください。
Certbotをインストール
Certbotのサイトへ行くと、どのウェブサーバー、どのSystemという選択があり、それぞれにおいて適切な指示をリストした画面に飛ばしてくれます。しかし、残念なことに私が使用しているAmazon LinuxがSystemの選択がありません。
近いのは、Cent OSかな、ということで、私は、https://certbot.eff.org/lets-encrypt/centos6-apacheのインストラクションを選びました。
それによると、まず以下のシェルスクリプトをダウンロードしてコマンドラインで実行可能とします。
$ wget https://dl.eff.org/certbot-auto
$ sudo mv certbot-auto /usr/local/bin/certbot-auto
$ sudo chown root /usr/local/bin/certbot-auto
$ sudo chmod 0755 /usr/local/bin/certbot-auto
Certbotの実行
通常は、この実行だけで済むのですが、残念、早速エラーとなりました。
$ sudo /usr/local/bin/certbot-auto certonly --apache
FATAL: Amazon Linux support is very experimental at present...
if you would like to work on improving it, please ensure you have backups
and then run this script again with the --debug flag!
Alternatively, you can install OS dependencies yourself and run this script
again with --no-bootstrap.
Amazon Linuxはまだ実験段階ということで、デバッグオプションを追加して再度実行します。
$ sudo /usr/local/bin/certbot-auto certonly --apache --debug
Bootstrapping dependencies for Amazon... (you can skip this with --no-bootstrap)
...
Complete!
Creating virtual environment...
Traceback (most recent call last):
  File "<stdin>", line 27, in <module>
  File "<stdin>", line 19, in create_venv
  File "/usr/lib64/python2.7/subprocess.py", line 185, in check_call
    retcode = call(*popenargs, **kwargs)
  File "/usr/lib64/python2.7/subprocess.py", line 172, in call
    return Popen(*popenargs, **kwargs).wait()
  File "/usr/lib64/python2.7/subprocess.py", line 394, in __init__
    errread, errwrite)
  File "/usr/lib64/python2.7/subprocess.py", line 1047, in _execute_child
    raise child_exception
OSError: [Errno 2] No such file or directory
なんだか進んだな、と思ったら最後にエラーです。
調査してみると、私の環境のPythonのバージョンが古いようです。
ということで、前段階でインストールされたバージョン2.7に切り替えます。
$ sudo alternatives --config python

There are 2 programs which provide 'python'.

  Selection    Command
-----------------------------------------------
 + 1           /usr/bin/python2.6
*  2           /usr/bin/python2.7

Enter to keep the current selection[+], or type selection number: 2
そして、すでに完了した段階をスキップするために、–no-bootstrapを追加して再度実行します。
$ sudo /usr/local/bin/certbot-auto certonly --apache --debug --no-bootstrap
Creating virtual environment...
Installing Python packages...
Installation succeeded.
Saving debug log to /var/log/letsencrypt/letsencrypt.log
Plugins selected: Authenticator apache, Installer apache
Enter email address (used for urgent renewal and security notices)
 (Enter 'c' to cancel): kenji@lotsofbytes.com

- - - - - - - - - - - - - - - - - - - - - - - - - - - - - - - - - - - - - - - -
Please read the Terms of Service at
https://letsencrypt.org/documents/LE-SA-v1.2-November-15-2017.pdf. You must
agree in order to register with the ACME server at
https://acme-v02.api.letsencrypt.org/directory
- - - - - - - - - - - - - - - - - - - - - - - - - - - - - - - - - - - - - - - -
(A)gree/(C)ancel: A

- - - - - - - - - - - - - - - - - - - - - - - - - - - - - - - - - - - - - - - -
Would you be willing to share your email address with the Electronic Frontier
Foundation, a founding partner of the Let's Encrypt project and the non-profit
organization that develops Certbot? We'd like to send you email about our work
encrypting the web, EFF news, campaigns, and ways to support digital freedom.
- - - - - - - - - - - - - - - - - - - - - - - - - - - - - - - - - - - - - - - -
(Y)es/(N)o: N

Which names would you like to activate HTTPS for?
- - - - - - - - - - - - - - - - - - - - - - - - - - - - - - - - - - - - - - - -
1: larajapan.com
2: www.larajapan.com
- - - - - - - - - - - - - - - - - - - - - - - - - - - - - - - - - - - - - - - -
Select the appropriate numbers separated by commas and/or spaces, or leave input
blank to select all options shown (Enter 'c' to cancel):
Obtaining a new certificate
Performing the following challenges:
http-01 challenge for larajapan.com
http-01 challenge for www.larajapan.com
Waiting for verification...
Cleaning up challenges

IMPORTANT NOTES:
 - Congratulations! Your certificate and chain have been saved at:
   /etc/letsencrypt/live/larajapan.com/fullchain.pem
   Your key file has been saved at:
   /etc/letsencrypt/live/larajapan.com/privkey.pem
   Your cert will expire on 2020-09-30. To obtain a new or tweaked
   version of this certificate in the future, simply run certbot-auto
   again. To non-interactively renew *all* of your certificates, run
   "certbot-auto renew"
 - Your account credentials have been saved in your Certbot
   configuration directory at /etc/letsencrypt. You should make a
   secure backup of this folder now. This configuration directory will
   also contain certificates and private keys obtained by Certbot so
   making regular backups of this folder is ideal.
 - If you like Certbot, please consider supporting our work by:

   Donating to ISRG / Let's Encrypt:   https://letsencrypt.org/donate
   Donating to EFF:                    https://eff.org/donate-le
セキュア認証の作成、成功です!
さて、上で何が起こっているかを説明すると、まず、必要な環境を作成して必要なライブラリのインストールを行った後、以下が問われます。
- 緊急の場合や更新のお知らせのためにEメールアドレス
- 同意するか。Aをタイプしてください。
- 先のEメールを共有してよいか。YあるいはNのタイプです。
- どのサイトのHttpsが必要か。既存のapacheの設定からリスト作成してれます。指定するならコンマ区切りで番号を、すべてなら単にリターンします。
これらを回答すると、/etc/letsencryptのディレクトリに以下のようにSSL認証関連のいろいろなファイルが作成されます。
$ cd /etc/letsencrypt
$ tree
.
├── accounts
│   └── acme-v02.api.letsencrypt.org
│       └── directory
│           └── 20adce2f0bc35e942a75b71a4716e1c3
│               ├── meta.json
│               ├── private_key.json
│               └── regr.json
├── archive
│   └── larajapan.com
│       ├── cert1.pem
│       ├── chain1.pem
│       ├── fullchain1.pem
│       └── privkey1.pem
├── csr
│   └── 0000_csr-certbot.pem
├── keys
│   └── 0000_key-certbot.pem
├── live
│   ├── larajapan.com
│   │   ├── cert.pem -> ../../archive/larajapan.com/cert1.pem
│   │   ├── chain.pem -> ../../archive/larajapan.com/chain1.pem
│   │   ├── fullchain.pem -> ../../archive/larajapan.com/fullchain1.pem
│   │   ├── privkey.pem -> ../../archive/larajapan.com/privkey1.pem
│   │   └── README
│   └── README
├── options-ssl-apache.conf
├── renewal
│   └── larajapan.com.conf
└── renewal-hooks
    ├── deploy
    ├── post
    └── pre
apacheの設定
作成された認証関連のファイルを使用するために、apacheの設定ファイル、/etc/httpd/conf/httpd.conf、あるいは、httpd-vhosts.confを以下のように編集します。
<VirtualHost *:443>
    Include /etc/letsencrypt/options-ssl-apache.conf
    SSLCertificateFile /etc/letsencrypt/live/larajapan.com/fullchain.pem
    SSLCertificateKeyFile /etc/letsencrypt/live/larajapan.com/privkey.pem
..
設定後、apacheを再起動します。
$ sudo service httpd restart
セキュア認証の確認
さて、セキュア認証が問題なくインストールされているか、確認してみましょう。
以下のサイトで検証できます。
https://www.ssllabs.com/ssltest
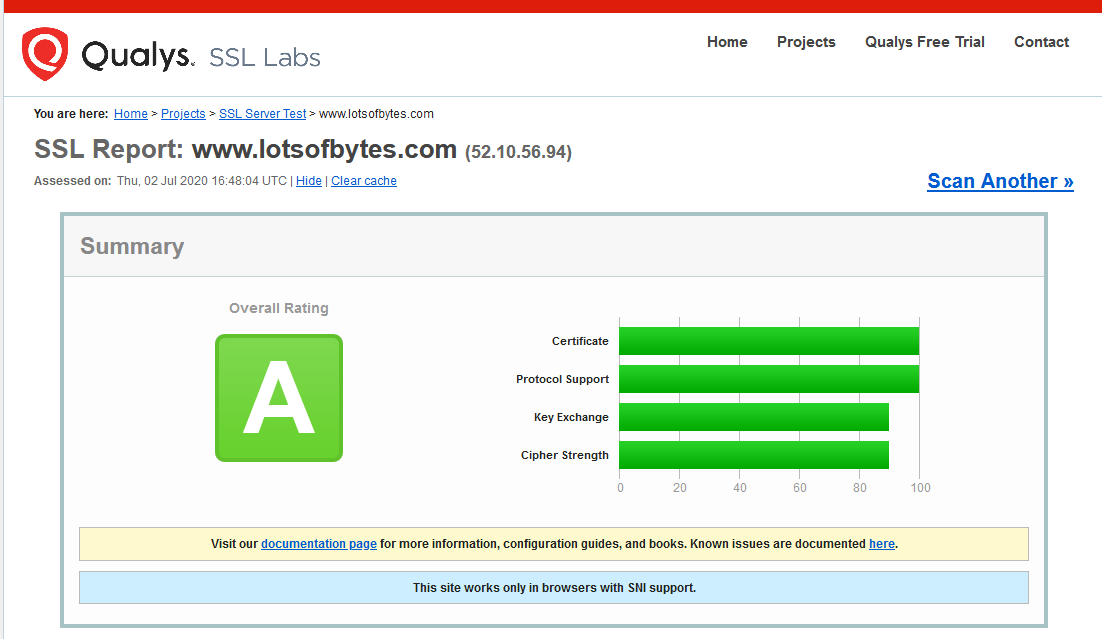
私のサイトのURLを入れて、
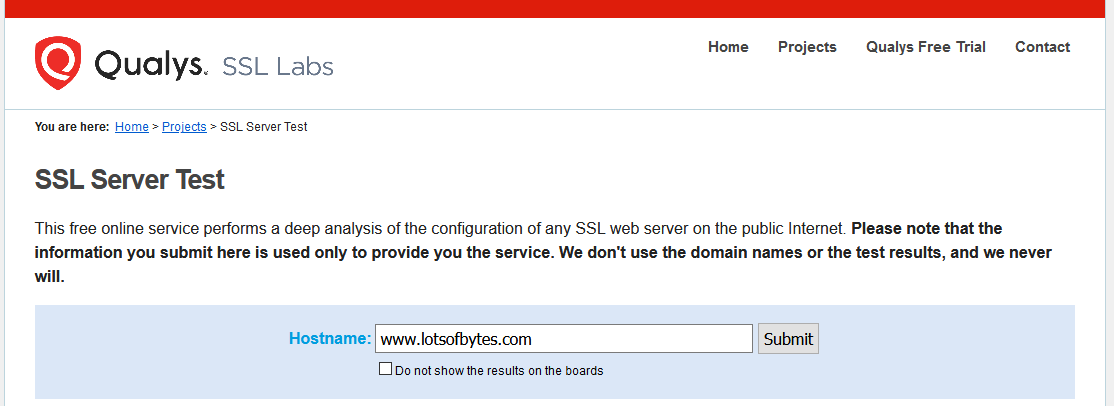
Aになりました!
セキュア認証の更新
巷の有料なセキュア認証は、たいて1年か2年間更新しなくて済むのですが、、実はこの認証は90日ごとに更新される必要あります。
それも自動化するために、以下でのクロンの設定が必要です。
$ echo "0 0,12 * * * root python -c 'import random; import time; time.sleep(random.random() * 3600)' && /usr/local/bin/certbot-auto renew -q" | sudo tee -a /etc/crontab > /dev/null
90日後に実際、うまく更新されるかどうか報告しますね。
メルマガ購読の申し込みはこちらから。